What is downsampling?
Downsampling is an image processing technique that involves reducing the resolution or sampling rate of an image. During the downsampling process, the number of pixels in the image is reduced, making the image smaller and lowering its resolution.
Why do we need downsampling and what are its benefits?
Downsampling offers several benefits, primarily in the following three aspects:
-
Storage space reduction: High-resolution images require more storage space (e.g., images captured by high-resolution color texture cameras like LSR L). By decreasing the image resolution, the size of image files can be reduced, thus saving storage space.
-
Speeding up processing and transmission: High-resolution images demand more computational resources for processing. Downsampling can reduce the processing time required, thereby improving image processing speed and reducing the time needed for network transmission of images.
-
Adapting to specific requirements: Some scenarios may not necessitate high-resolution images. Downsampling allows for the generation of images with appropriate resolutions based on specific requirements, enhancing overall efficiency and better accommodating project needs.
Mech-Eye Industrial 3D Cameras with downsampling capabilities
For Mech-Eye Industrial 3D Cameras, downsampling is supported in both 2D texture images and depth maps. Some camera models allow for configuration, as shown in the table below:
| Camera model | 2D downsampling supported? | Resolution change after 2D downsampling | 3D downsampling supported? | Resolution change after 3D downsampling |
|---|---|---|---|---|
| LSR L | Yes | 4000 * 3000 → 2000 * 1500 | No | / |
| LSR S | Yes | 4000 * 3000 → 2000 * 1500 | No | / |
| DEE P | No | / | Yes | 2048 * 1536 → 1024 * 768 |
| PRO S | No | / | No | / |
| PRO M | No | / | No | / |
| LOG S | No | / | No | / |
| LOG M | No | / | No | / |
| NANO | No | / | No | / |
| PRO XS | No | / | No | / |
| Laser L Enhanced | No | / | Yes | 4096 * 3000 → 2048 * 1500 |
How to configure camera downsampling function
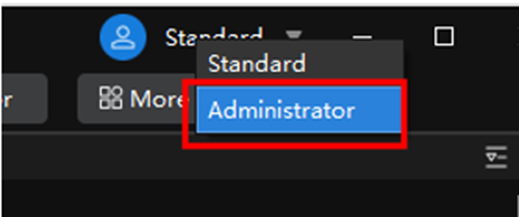
First, open Mech-Eye Viewer (ensure that you have version 2.1.0 or above) and enter “Administrator” mode.
Set 2D / 3D downsampling for LSR L / LSR S / DEEP
-
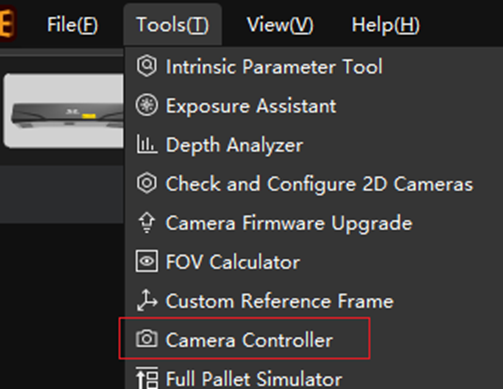
Connect the corresponding camera and navigate to “Tools” → “Camera Controller”.
-
In the Camera Controller window, set the resolution settings from the dropdown menu. The default resolution for the camera’s 2D image is 2000 x 1500, but it can be adjusted to 4000 x 3000. Additionally, you can also configure the resolution for DEEP’s depth map, which defaults to 2000 x 1500 but can be changed to 1000 x 750.
-
After resolution settings are set, click “Apply settings and reboot camera”.

Set 2D / 3D downsampling for Laser L Enhanced
Setting downsampling for Laser L Enhanced cameras differs from the LSR series:
Enter “Administrator” mode and set Visibility to “Guru”. Then, in 3D Parameters section, choose “3D Binning”. Once selected, you can successfully configure downsampling without the need for a reboot.
With these steps, your configuration is complete.
