Background
When using Mech-Vision & Mech-Viz 2.0.0, if you want to use multiple picking methods to pick the target objects while also needing to place the objects in a fixed pose, directly setting the target object pose in Mech-Viz during placement may not meet accuracy requirements. In this case, you can adjust the settings in Mech-Viz first and then teach the placement waypoint to ensure precise placement of the object in the desired pose.
Usage Example
For example, when there are multiple feasible pick points on a small part, various picking methods can be used. However, if the object needs to be placed in a specific orientation on a transfer device, the target object pose during placement must remain consistent.
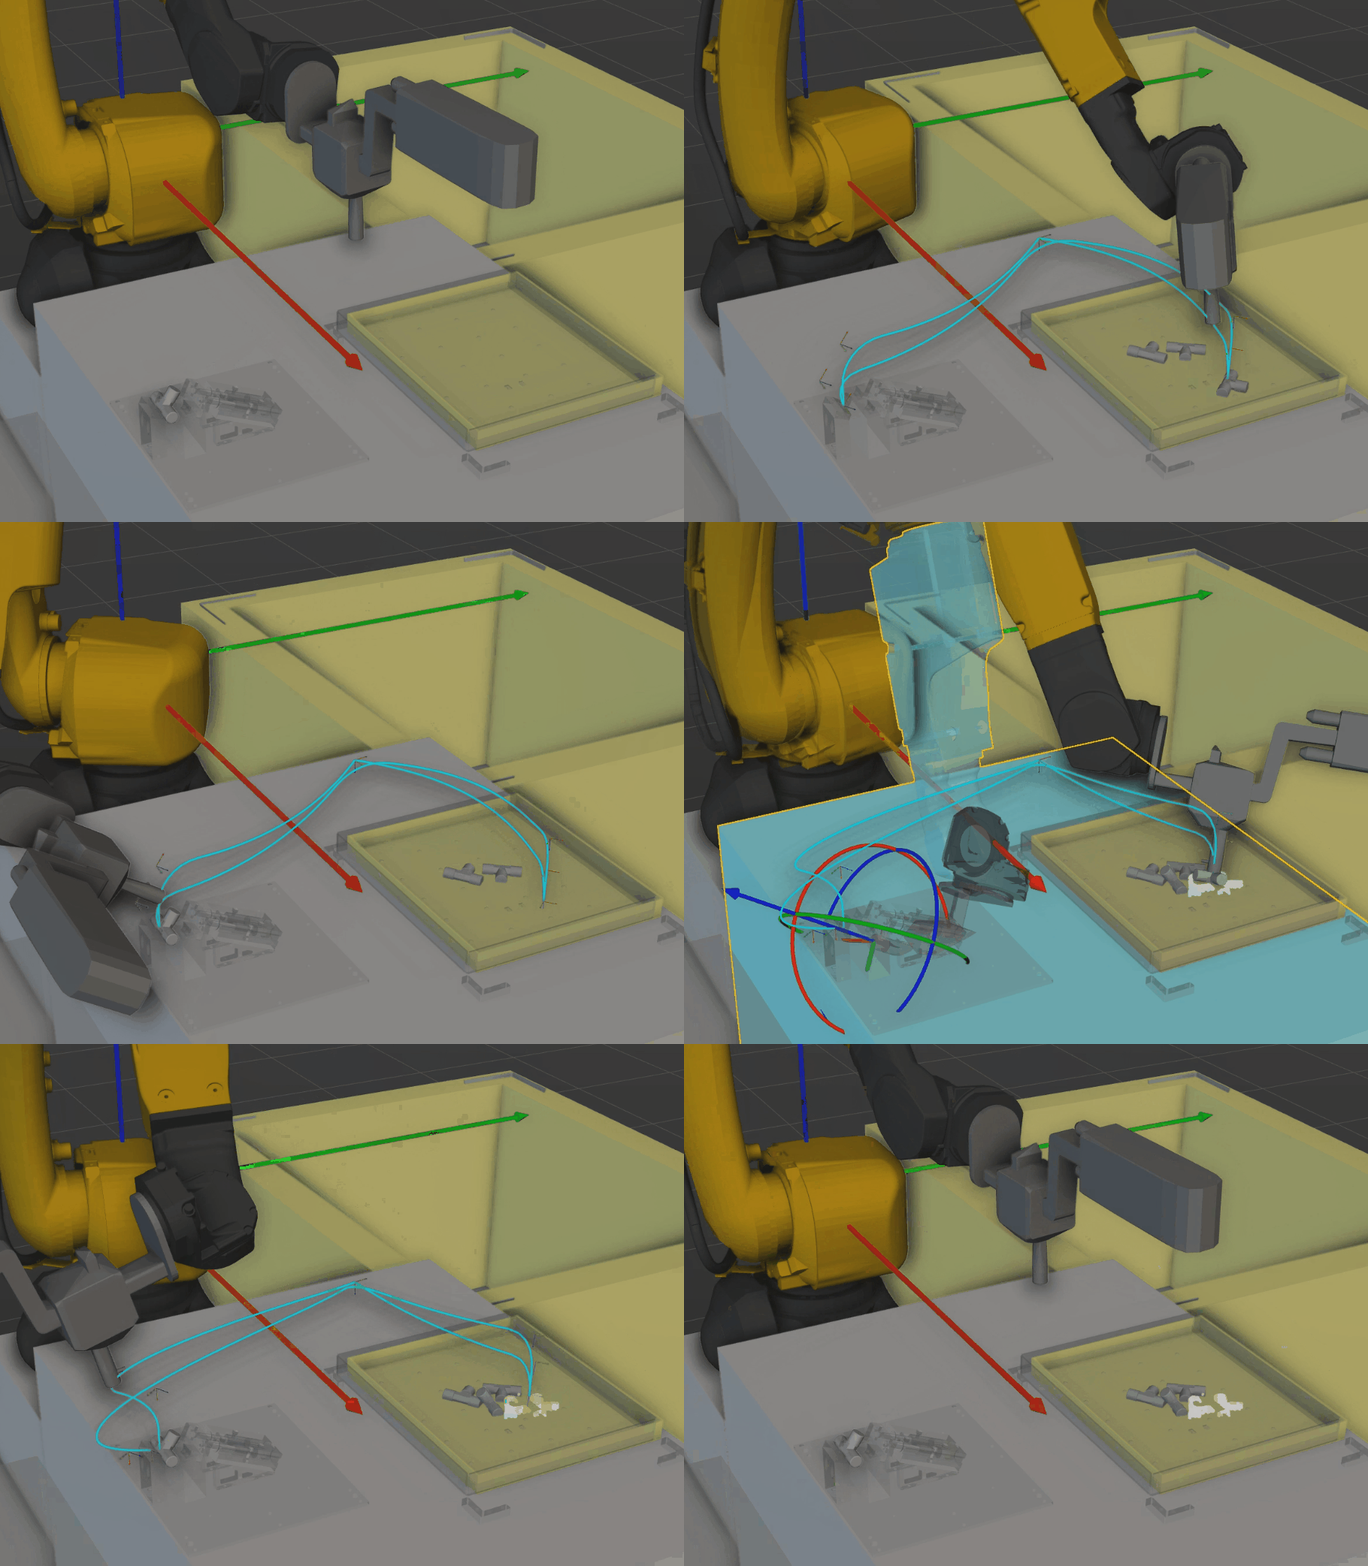
Workflow
To place the flexibly picked objects in a fixed pose, please follow the steps below:
Adjust settings in Mech-Viz → Tech the placement waypoint of the target object → Synchronize the current robot pose → Calculate the offset from the pick point to the object center point and compensate for it
Adjust Settings in Mech-Viz
Before teaching the target object pose for placement, you should adjust the settings in Mech-Viz and guide the robot to pick the target object with the vision system.
Follow the steps below to configure the settings before picking.
- In the “Tool Configuration” window, set “Rotational symmetry” to “None” for the tool.
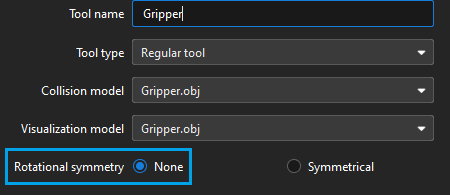
Note: Once the rotational symmetry is enabled, the robot will place the target object in various orientations to minimize the rotation of the tool, making the positional relationship between the target object’s placement pose and the robot TCP variable.
-
Disable the pick point array, translational relaxation, and rotational relaxation in the target object editor.
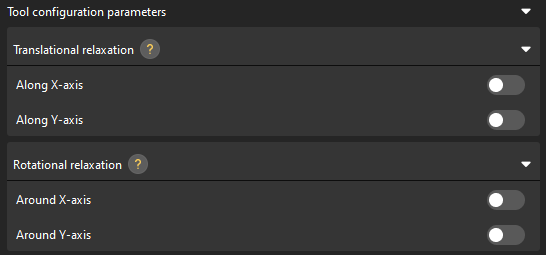
-
In the “Filter Vision Result” parameter group of the “Vision Move” Step, specify a pick point for picking.

Note: The offset applied to the pick point and the taught placement waypoint should be consistent. Using a single pick point can prevent placement errors caused by inconsistent offsets when pick points vary.
Teach the Target Object Pose for Placement
Currently, the Target object pose set in Waypoint type for the move-type Step cannot be accurately read. When the Waypoint type is set to Target object pose, the robot’s actual pose is the Tool pose at that waypoint with an upside-down Z-axis. Therefore, adjustments based on the taught target object pose are needed to achieve an accurate target object pose for placement.
Jog the robot to place the target object to a specified position.
Synchronize the Current Robot Pose
-
Type the current robot JPs displayed on the teach pendant in the Basic move settings parameter panel of the “Fixed-Point Move” Step used for placement. If the robot is master-controlled, you can synchronize the robot pose by clicking Sync Robot on the toolbar.
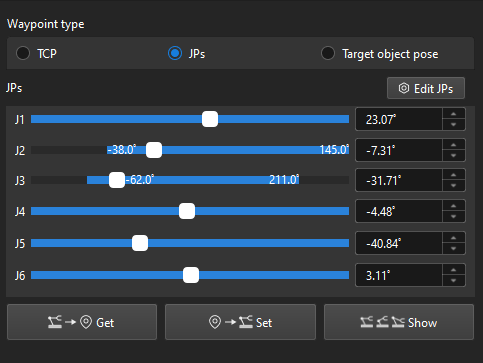
-
Right-click the tool required for the current workflow in the project resource tree and set it as the active tool.
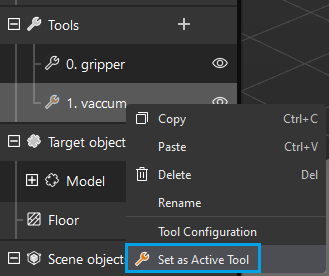
-
Switch the Waypoint type to Target object pose in the Basic move settings parameter panel of the “Fixed-Point Move” Step used for placement.
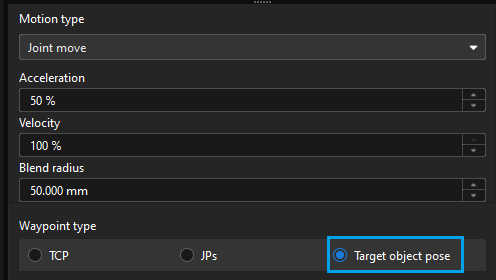
Calculate the Offset and Compensate
-
Go to the target object editor and copy the quaternion of the currently used pick point.
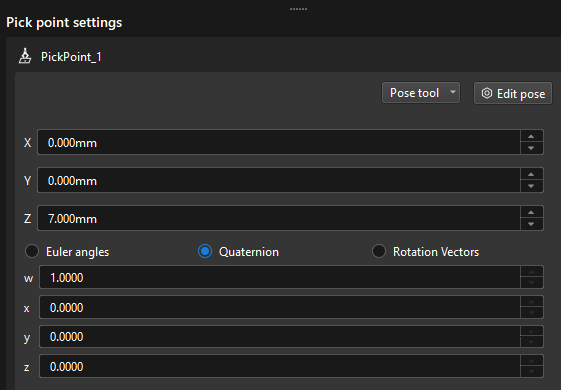
-
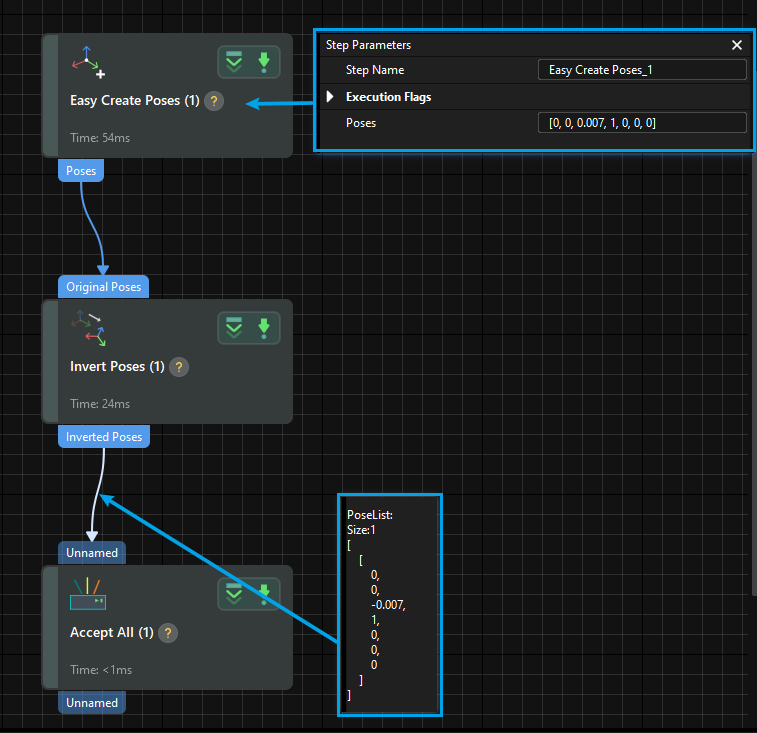
Create a new project in Mech-Vision and connect the Steps as shown below. This project performs an inverse operation on the copied quaternion to obtain the offset.
-
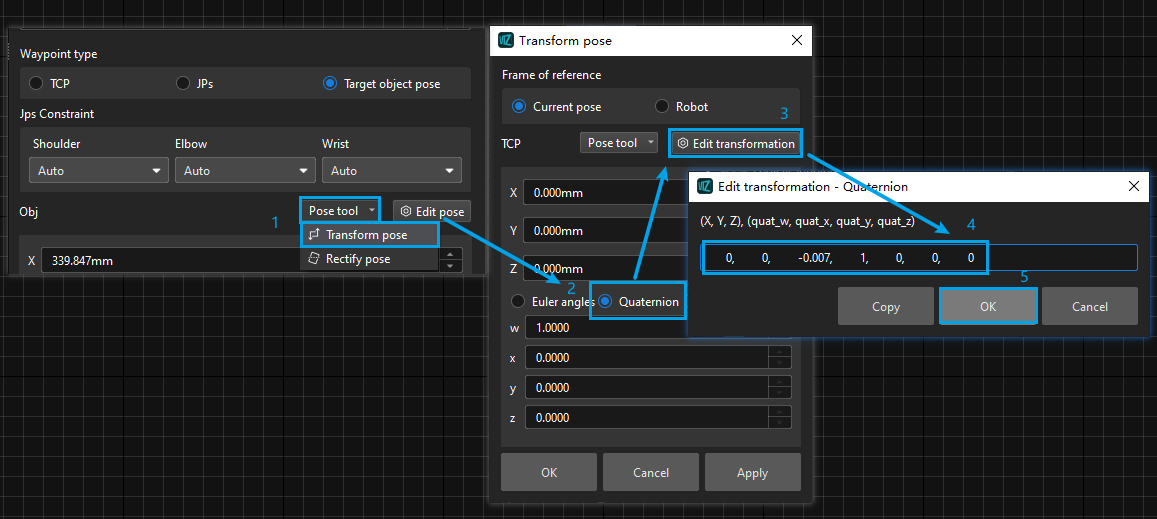
Open Mech-Viz and go to the Basic move settings parameter panel of the “Fixed-Point Move” Step used for placement. Click Pose tool and select Transform pose. Then select Quaternion in the pop-up window, click Edit transformation, and enter the offset for compensation.
Now you have completed configuring the target object’s placement pose.
If the workflow includes multiple target object poses that require precise placement, please refer to the above steps to individually teach and configure each pose.
Special Case: Picking from Front and Back
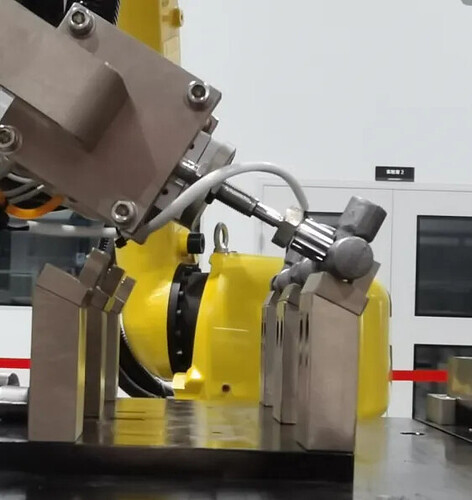
For some irregularly shaped target objects, the Z-axes of the pick point and the object center point are in opposite directions, as shown below. Typically, objects picked from the front and back need to be placed in different positions.
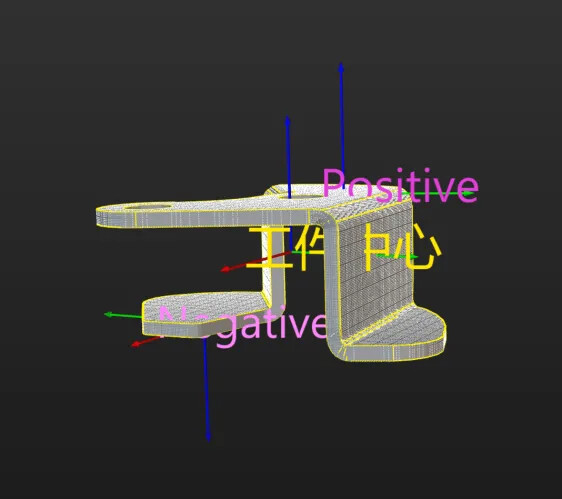
For objects picked from the back, after teaching the placement waypoint as described above and calculating and compensating for the offset from the pick point to the object center point, proceed with the following steps:
-
In the Basic move settings parameter panel of the “Fixed-Point Move” Step used for placement, click Pose tool and select Transform pose.
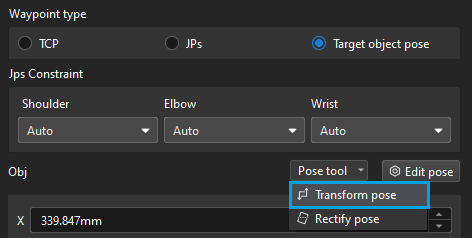
-
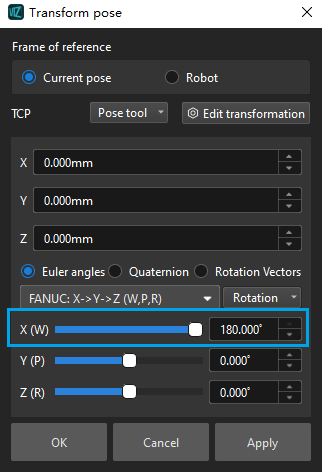
After calculating and compensating for the offset from the pick point to the object center point, further adjust the compensated target object pose as shown below by rotating its X-axis by 180°, so that the Z-axis of the target object pose points downward.
